

Creating Linkedin App
Note: You don’t need Linkedin approval for your app to work
Before you can create a Linkedin App you need to create a Linkedin Business page…
Go here to learn how to create one: https://www.linkedin.com/help/linkedin/answer/710
Next; Login into Linkedin for Developers
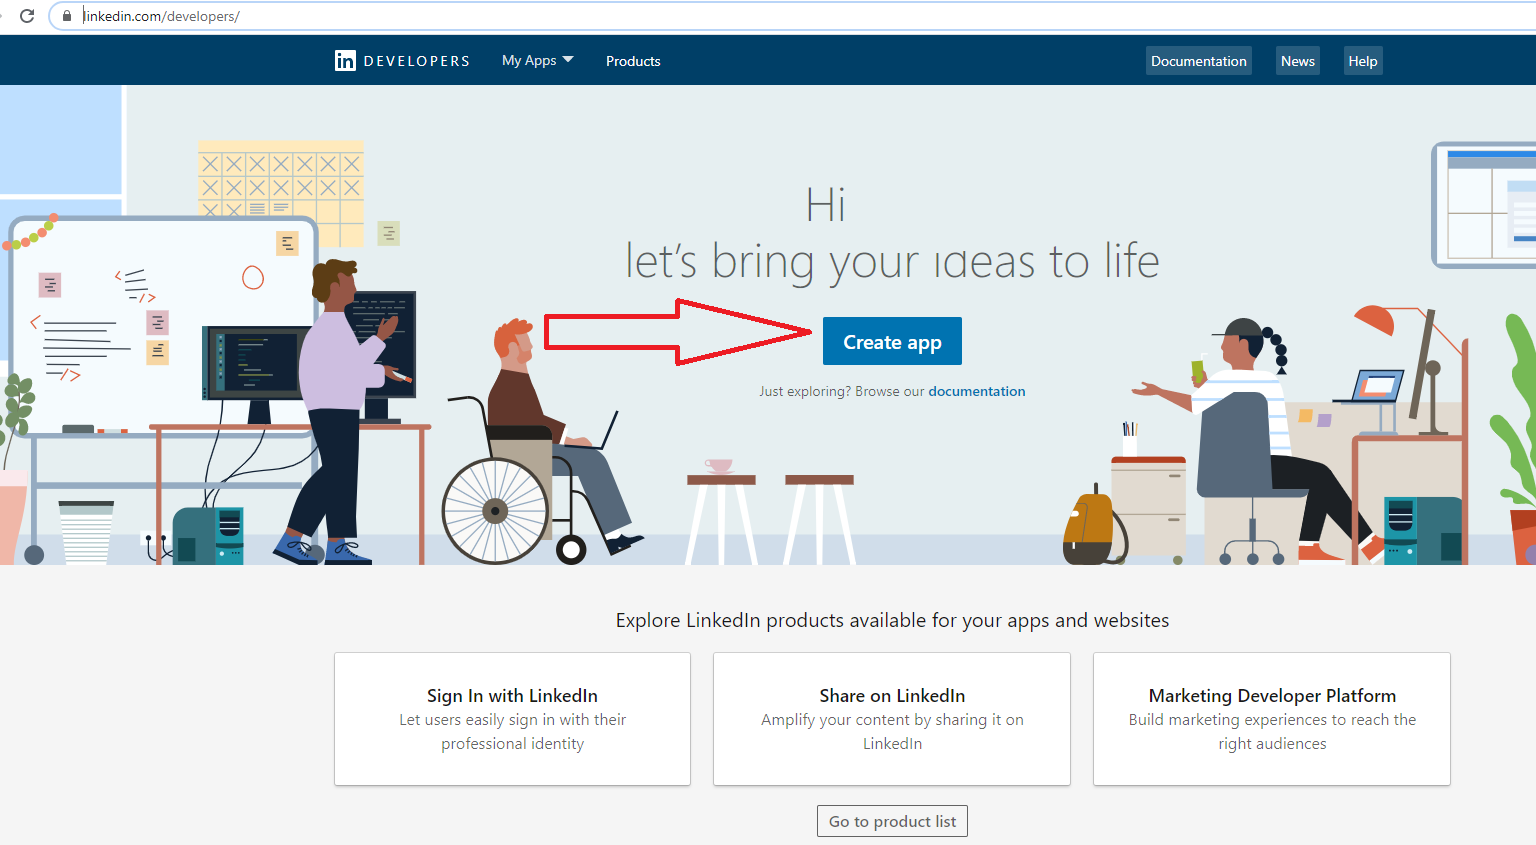
First you will need to go to Linkedin for Developers and Login into your Linkedin Account.
- Click on “Create App”
Set up your App details:
- Give your App a name
- Search and locate your Linkedin Fanpage or create one.
- Enter your privacy policy URL
- Upload your app logo. 100 x 100 pixel
- Accept terms
- Create App

Next step is to verify your new App

Go back to the app page and click on “I’m done”
Under “Additional Settings”
- Click the pencil icon and add your custom app domain. It should start with https://


Click on “products” tab and click to “select” to enable;
- Share on Linkedin
- Sign in with Linkedin

The review process shouldn’t take more than 5 minutes for it to become active… Refresh your browser after 5 minutes

Click on the “Auth tab…
- Click the pencil icon
- Click the “pencil” icon to add your redirect URLS
- First URL should be your custom domain https://yourwebsite.com
- Next enter your callback URL https://yourwebsite.com/callback/linkedin
- Click on Update

Example:

Copy your Linkedin application credentials”
- Copy your Client ID
- Click on the “eye” icon to reveal your Client secret key
- Login to your LeadPal social app area and connect it with Linkedin app

While inside your LeadPal dashboard;
- Under settings
- Click on Social Apps
- Click on “New Channel”
- Select “Linkedin” from the apps “Type’
- Paste your Linkedin Client ID and secret key”
- Locate your custom domain and save.

All rights reserved © LeadPal